Treasure Island: A Radio Play

The HAMS Players decided to produce a radio show this year since we were not able to perform for a live audience. The company chose Ruth Giordano’s direct adaptation of Robert Louis Stevenson’s classic pirate tale for its action and adventure. We felt that taking on these scurvy knaves was a good diversion from the ongoing slog through our current lives in the midst of restrictive pandemic protocols that would not allow us to practice and perform on a stage. 

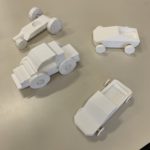
With twenty-one characters in the show and only eight actors in our company, all but one actor played multiple roles, varying their voices to fit the different characters. Creating sound effects was an additional challenge and a source of great fun. Some sounds, such as gunshots and cannon fire, were produced with resources online while others were generated with common materials such as water bottles and velcro. The music used to mark the beginning, scene changes and the end are from The Pirates of the Caribbean and Yo Ho Ho (and a Bottle of Rum). The final recorded performance of the radio show was accomplished in two sessions with a short break in between in front of a  small audience of students from The Hebron Academy Players. The HAMS Players not only owned their characters, but also juggled their lines and their sound effects assignments with aplomb, improvising and problem solving as needed to keep the show on pace. 

Sit back in a comfortable chair, let your imagination run, and enjoy our rendition of Treasure Island: A Radio Play

The Cast

Jenni Flynn Long John Silver, Hans, Johnny, Pirate

This production was one, crazy, fun ride. With the pandemic, doing a Radio Show instead of a normal play production was new, and interesting. It was a journey for all of us, new and old. My favorite part was getting to know everyone better, while also having lots of fun playing out different characters. Our production came out amazing; three cheers for the HAMS Treasure Island Radio Play!  

Ezra Tsapis  Tech Manager, Squire Trelawney  

Being in the drama play was really fun, and it came out great.  My favorite part was thinking up how to do the sound effects and getting it to sound just right, and in the end it turned out amazing. 

Emma-Rose Vining Mother, Captain Smollet,  Seaman, Crew

Drama at Hebron is really fun. I’m definitely going to do it next year. Treasure Island was a fun experience for me. We all had some good laughs, rehearsing and we all now have some inside jokes. Thank you Ms. Drown for making drama happen this year! And everyone else in drama for making it really fun for me.

Gavin Steidel Jim Hawkins, Pirate

What can I say about this year’s drama other than it was a blast. I’ve wanted a narrator role for a while, and narrating as Jim Hawkins was very fun. And even though the pandemic made things a bit more awkward, the time I spent here was a mixture of fun times,  funny times, and funnier times. I’m very stoked and prepared for High School Drama next year. Thank you to everybody in Drama, you have been great to work with.   

Clover Pross Blind Pew, Dr.Livesay, Morgan, Radio announcer #1, Crew

I loved drama this year. The whole drama crew and cast were so much fun to hangout with and get to know. Everyone worked really hard on this project and I hope we can do a live performance next year. Thank you to the whole drama crew! 🙂 

Alexandra Hounsell Bill Bones,  Ben Gunn, Radio Announcer #2, Pirate

Drama this year was so fun.  Coming into the drama room to practice was the highlight of my day. Thank you so much Ms. Drown Drama class this year. 

Jack Visaggio Young Jim, Merry, Crew

It was fun even though we couldn’t do an actual play. I enjoyed playing both of my characters. Improv games were my favorite part.

Noa Tsapis Black Dog, Captain Flint, Dirk, Pirate

I played a guy that died in the first thirty seconds and a bird.  Luckily, I do  a  pretty darn good rendition of a parrot!
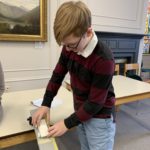
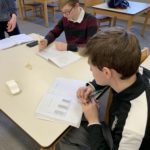
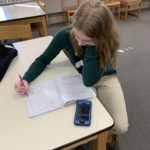
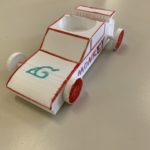
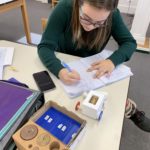
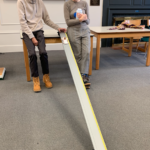
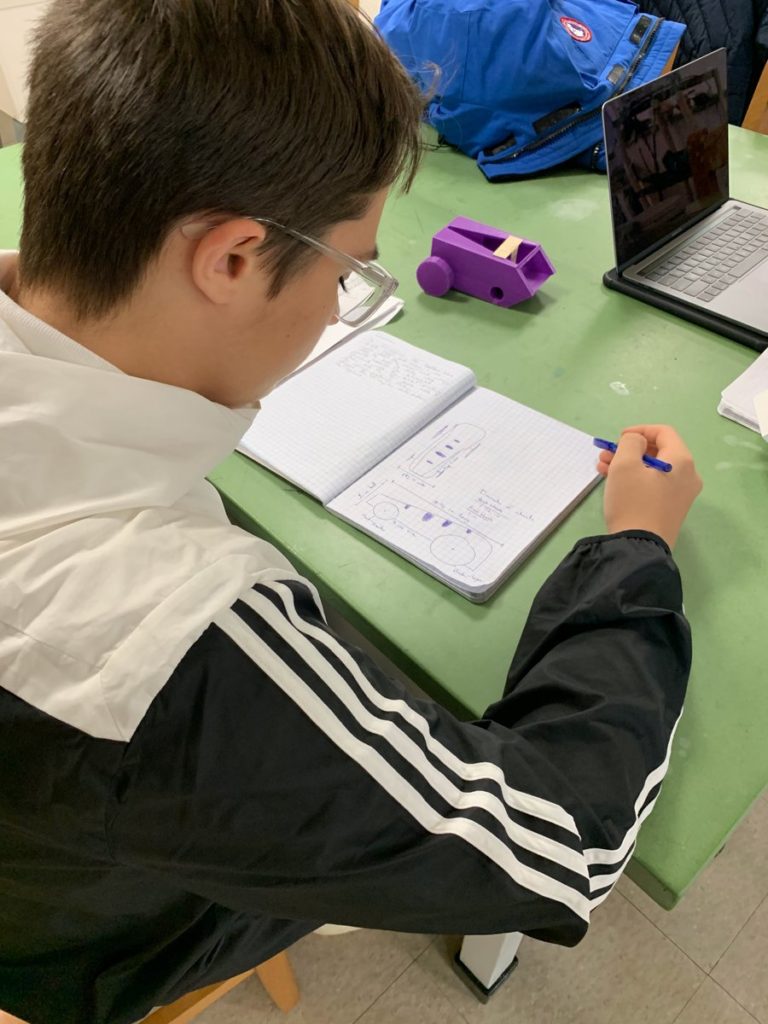
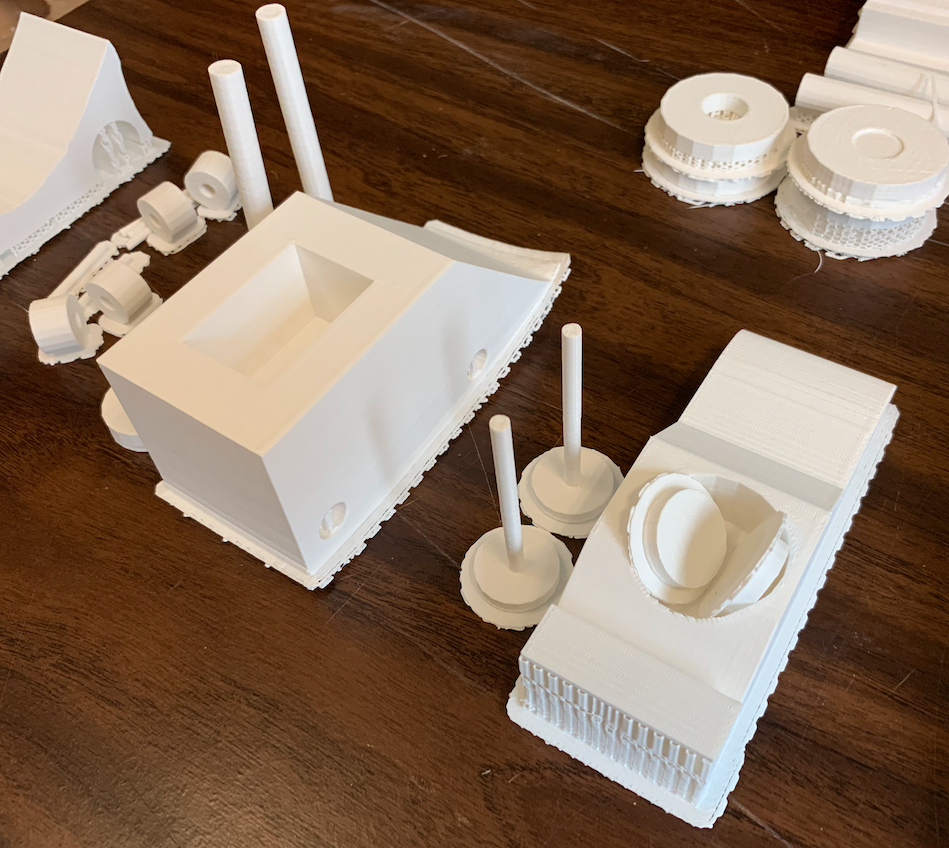
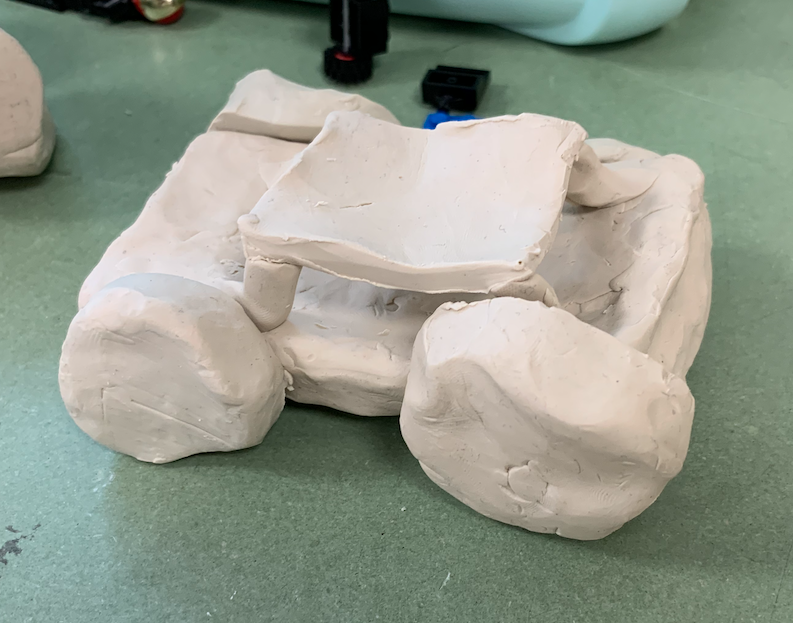
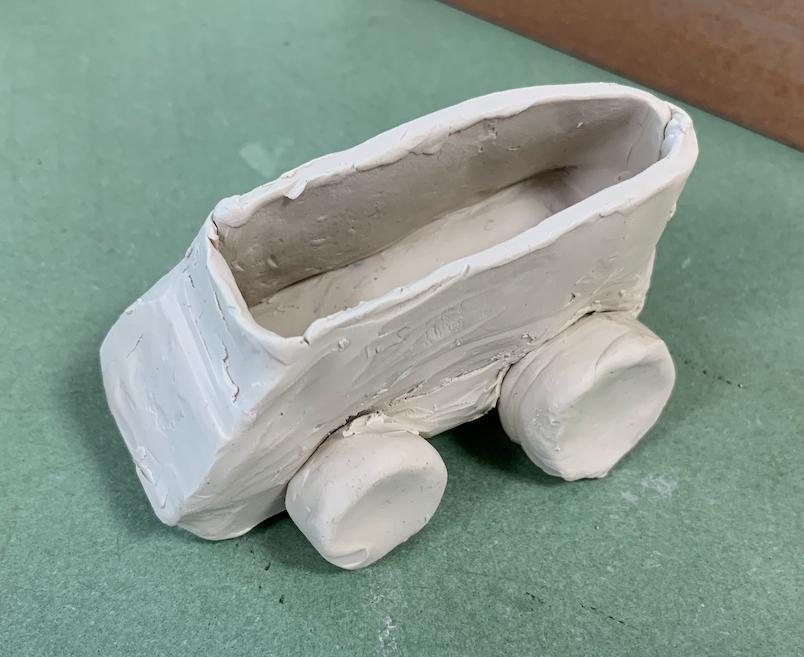
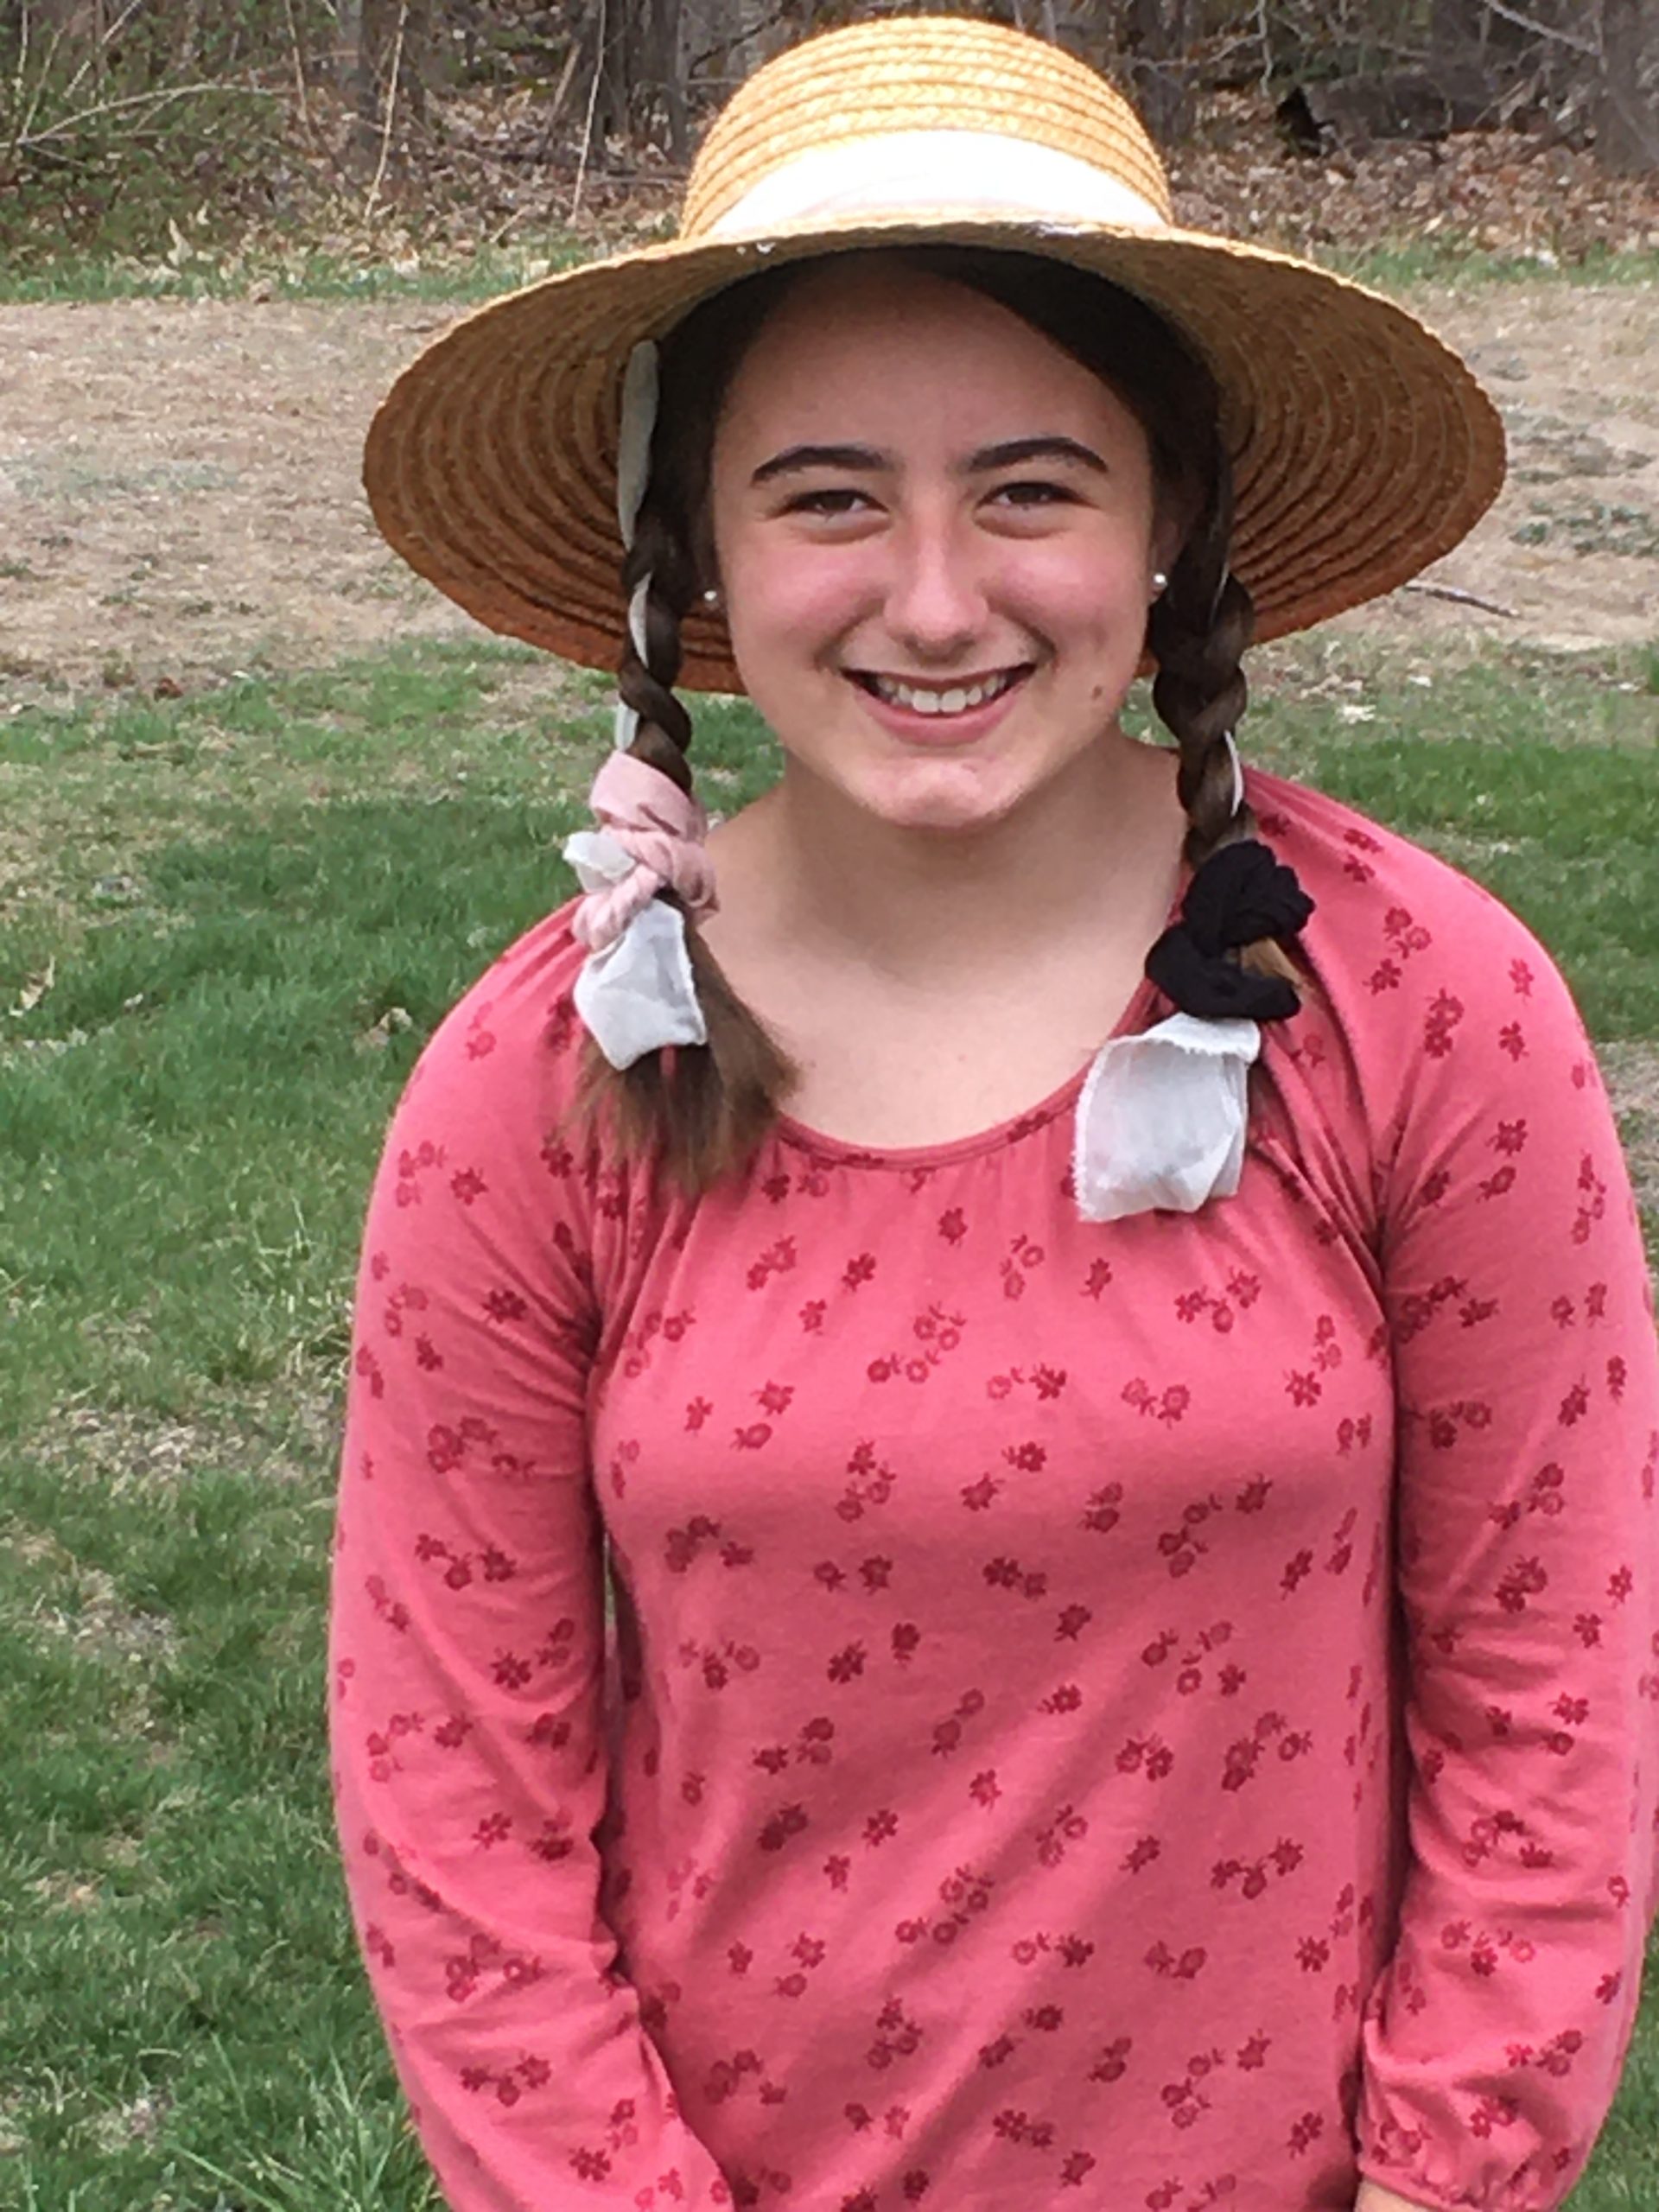
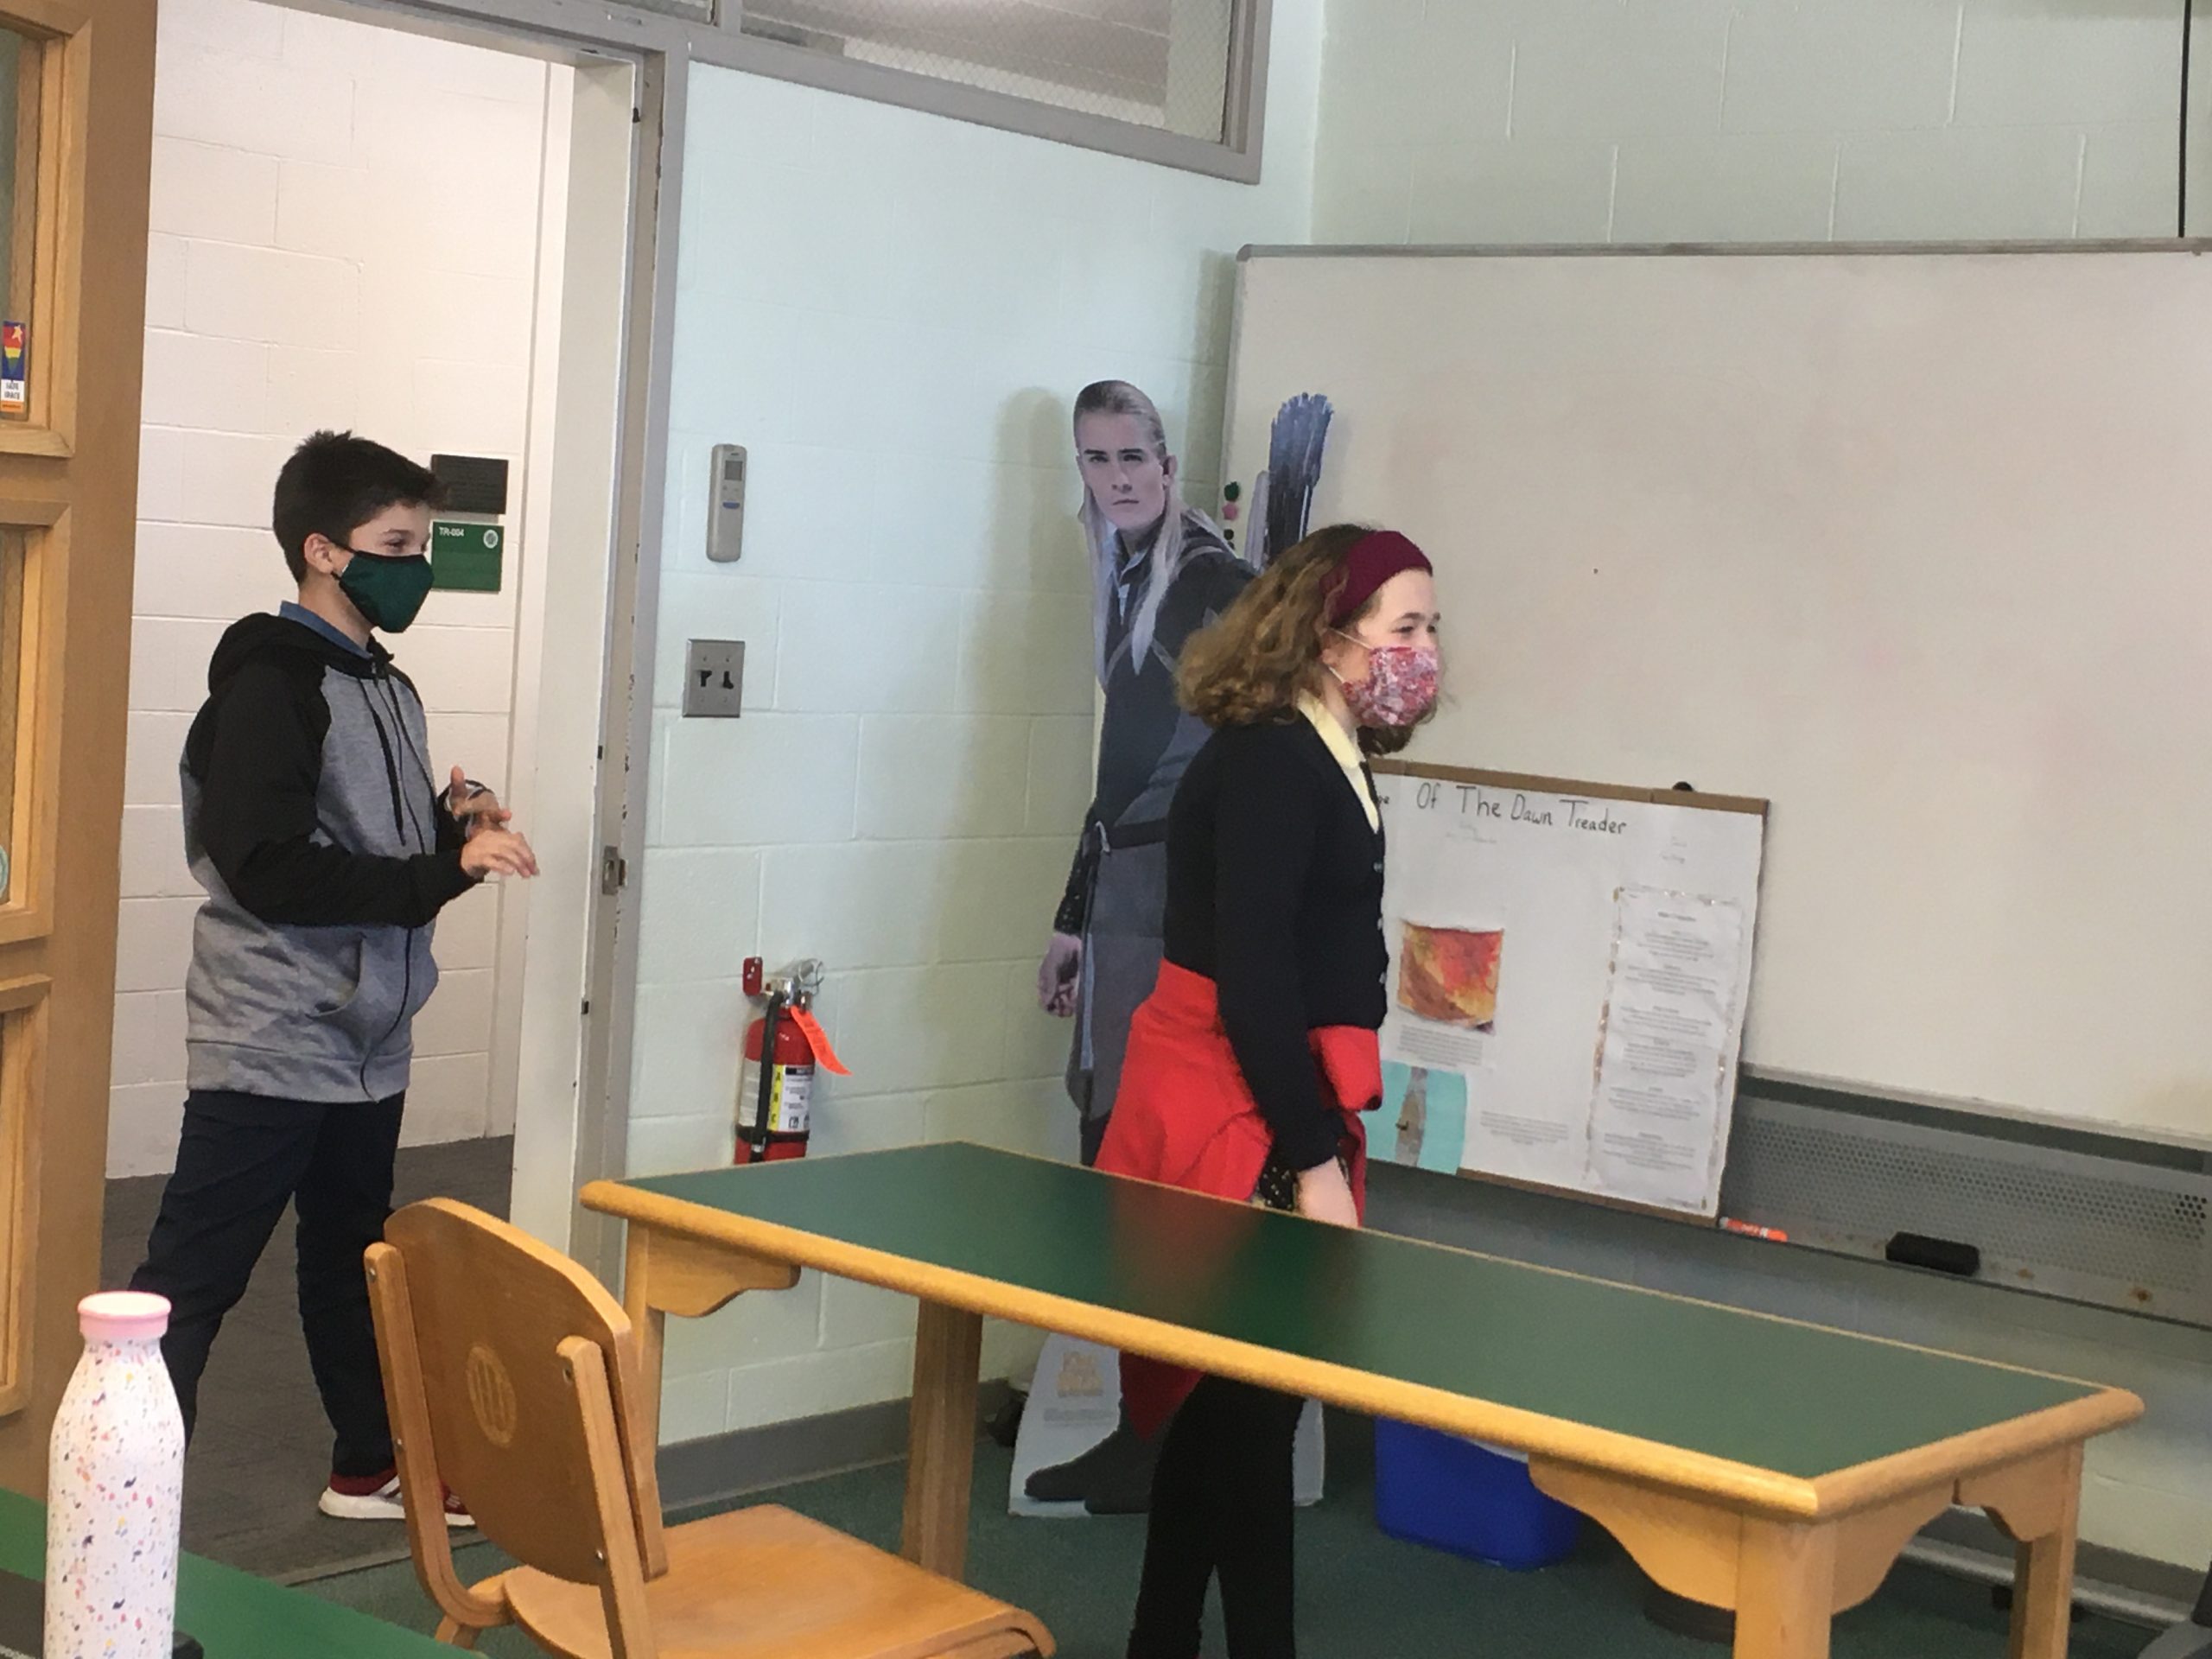
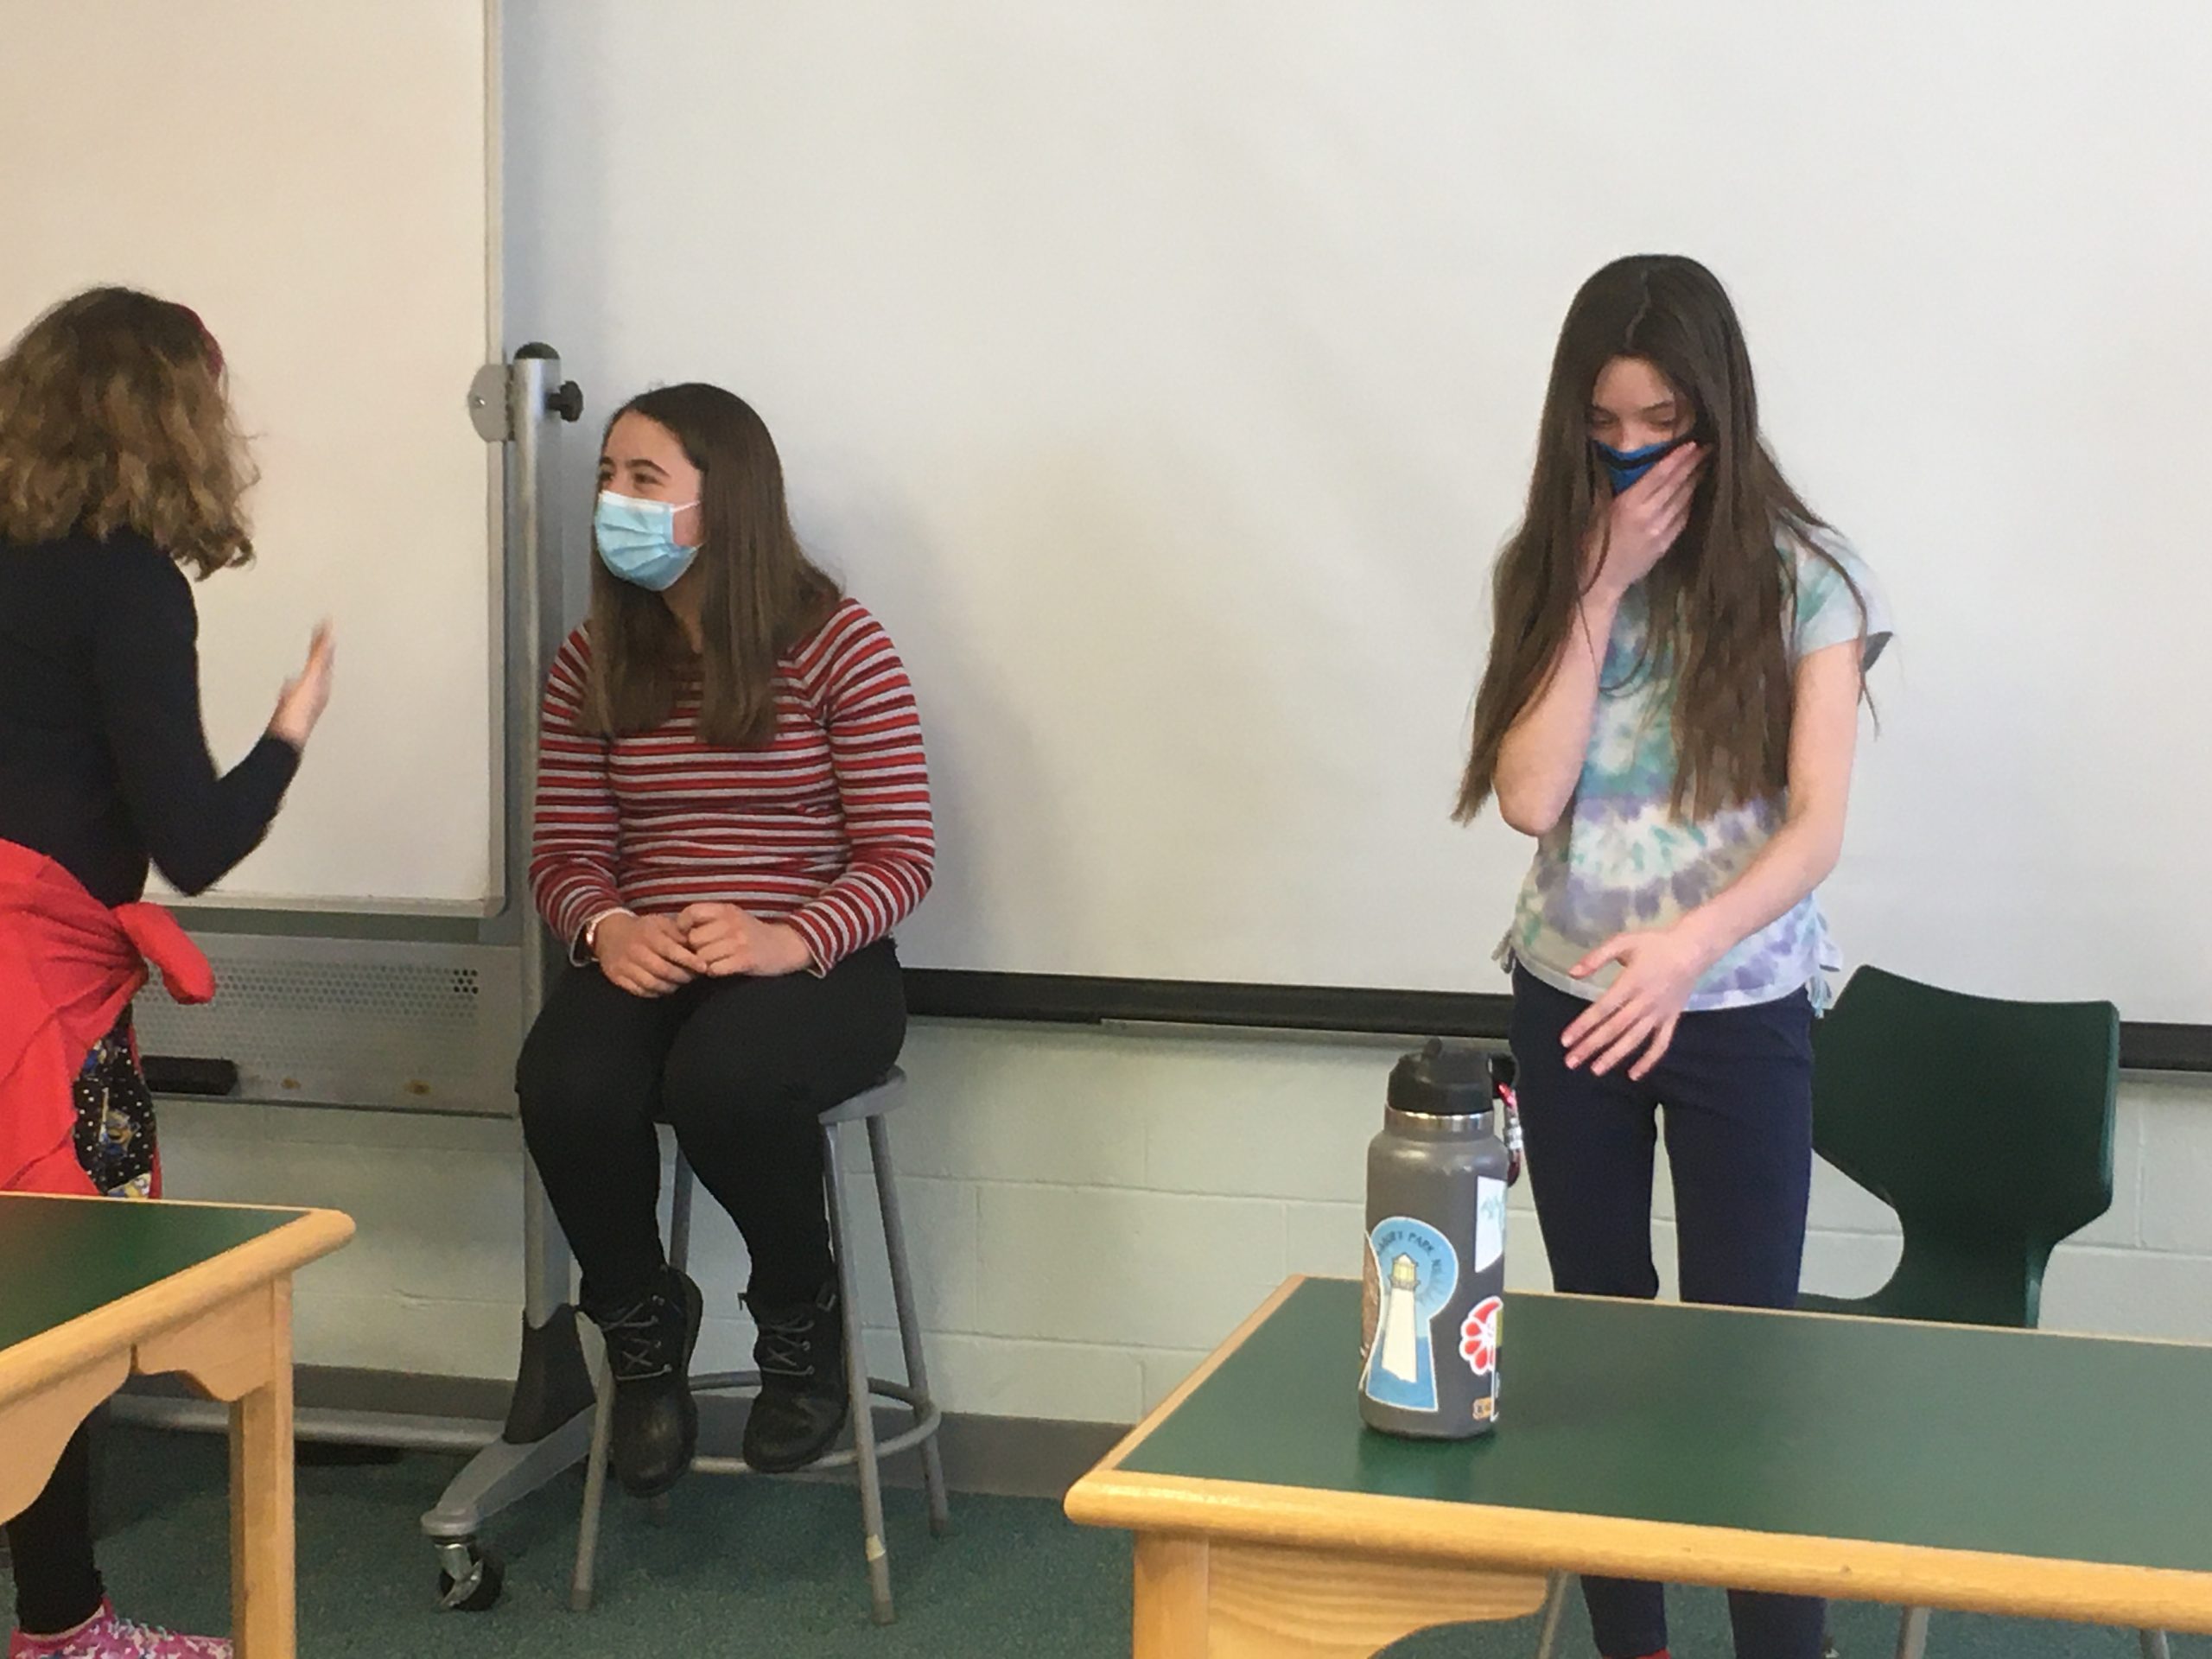
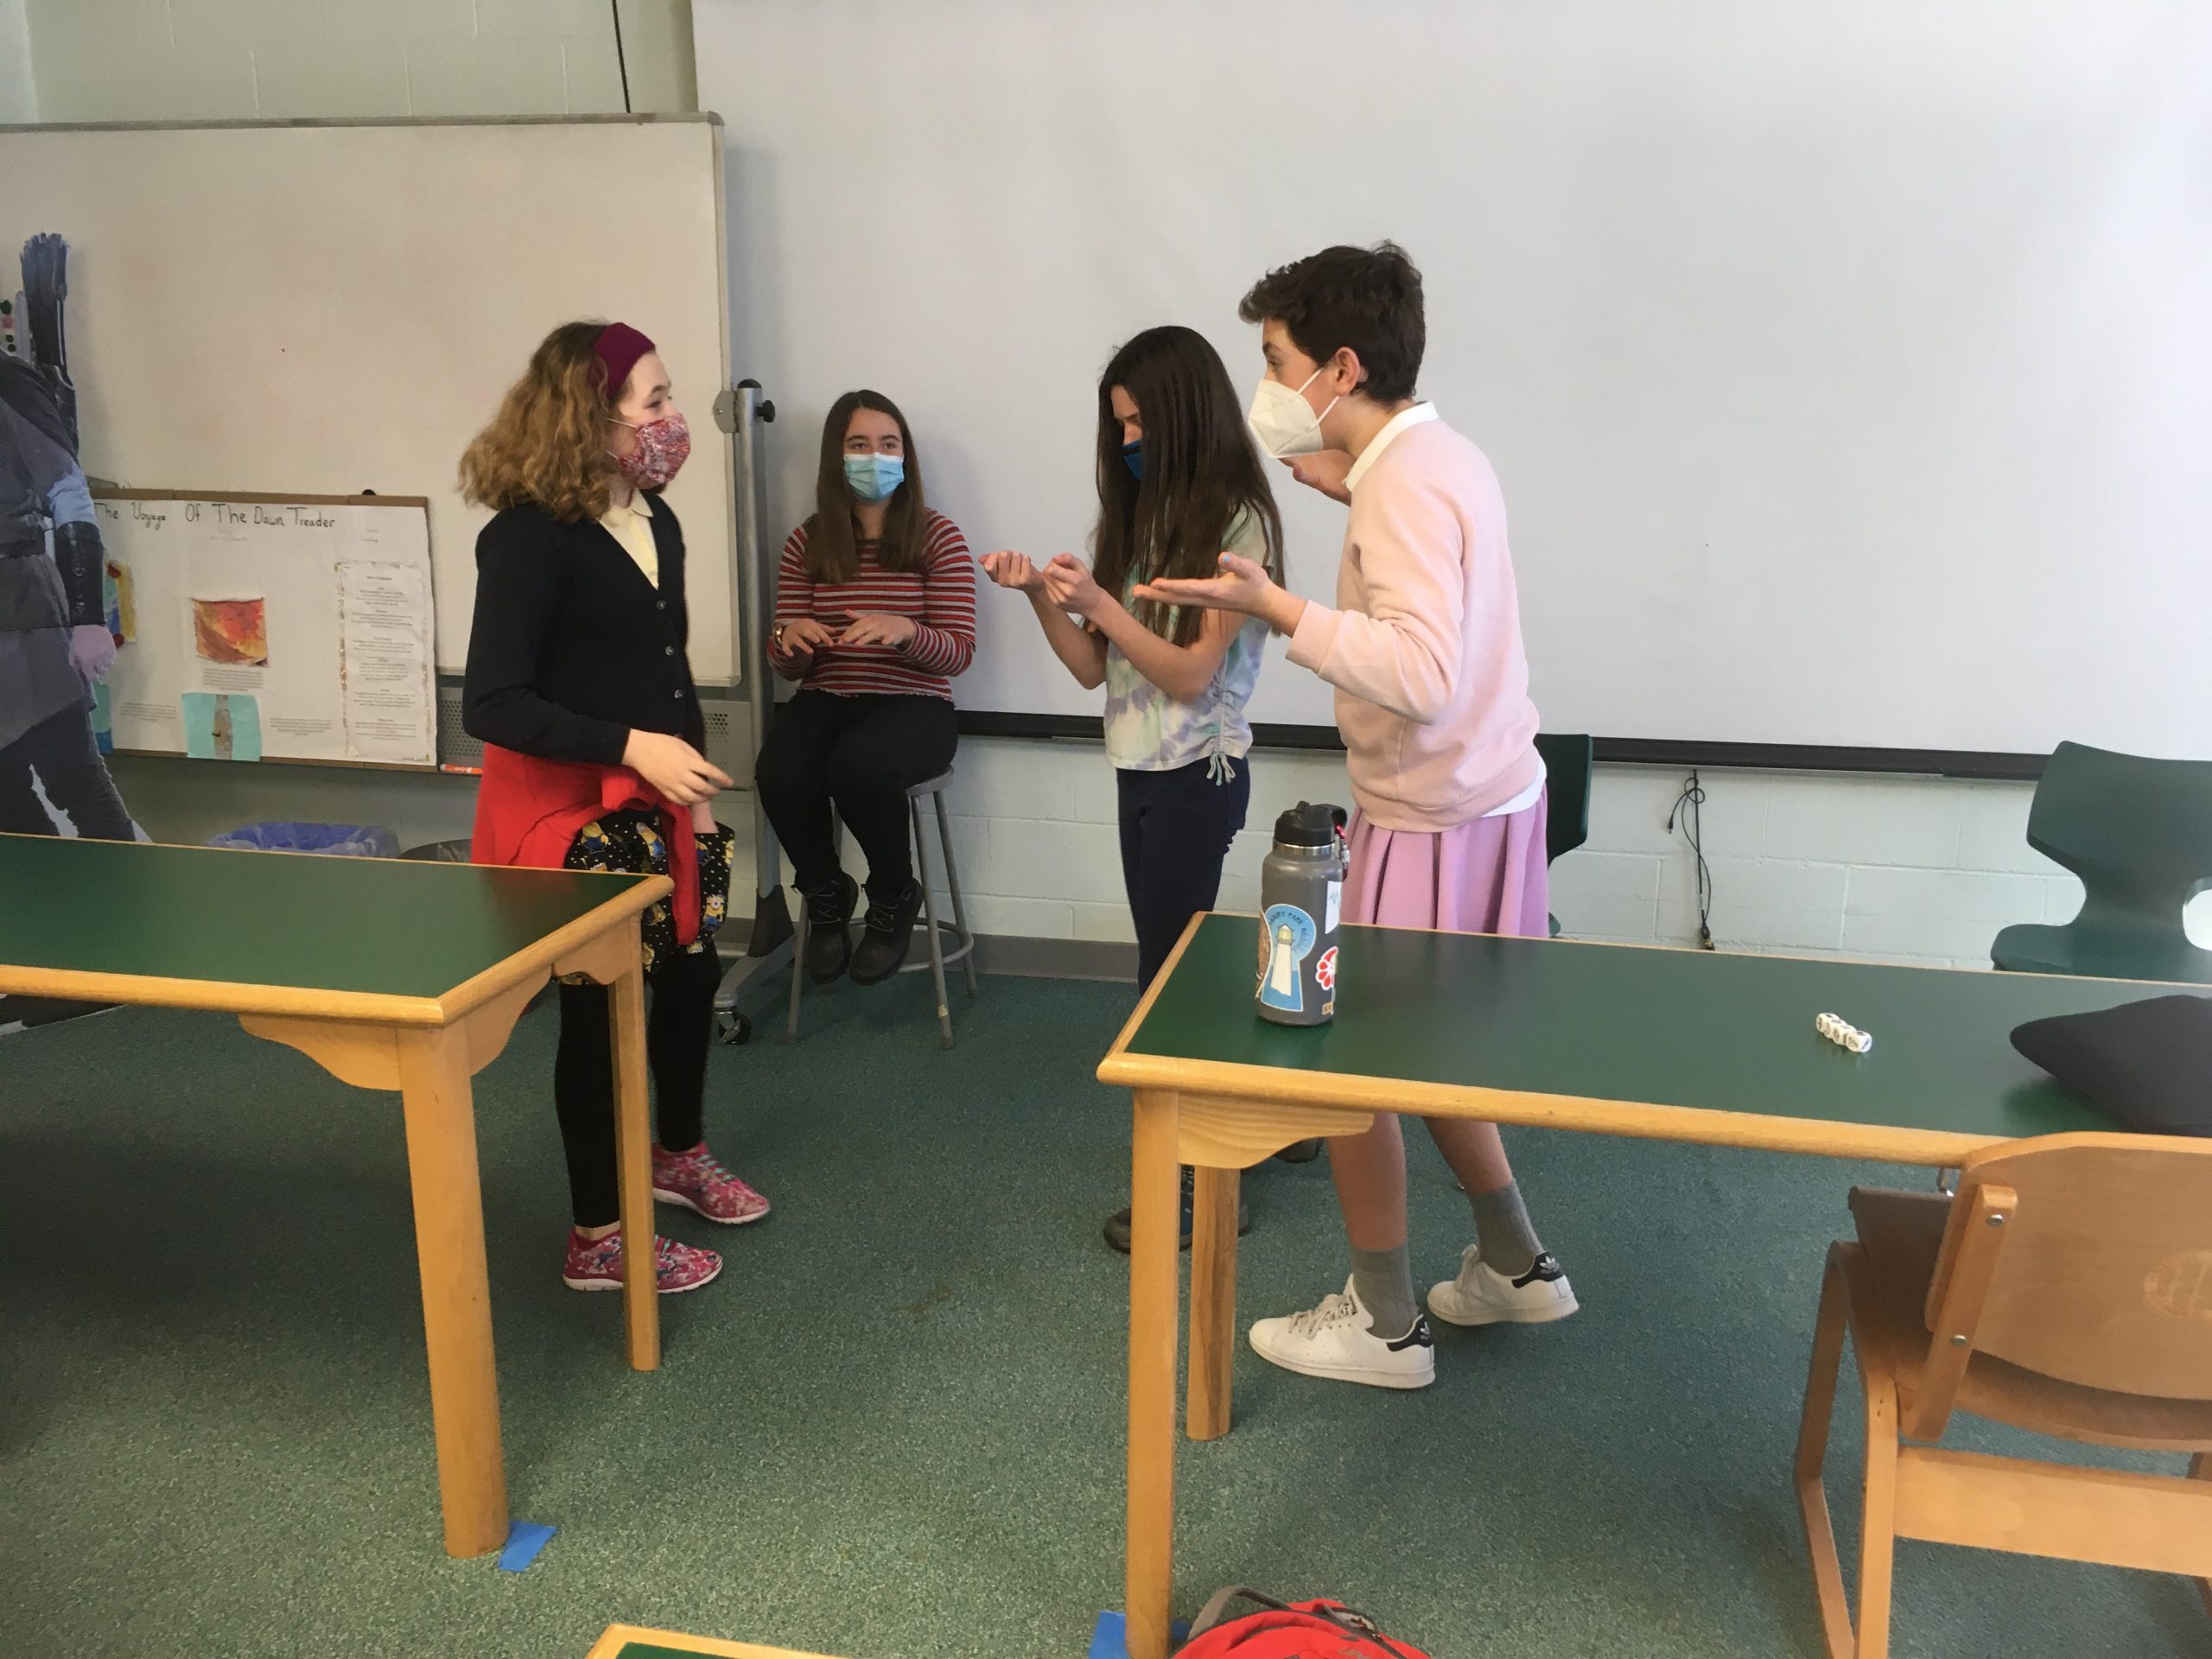
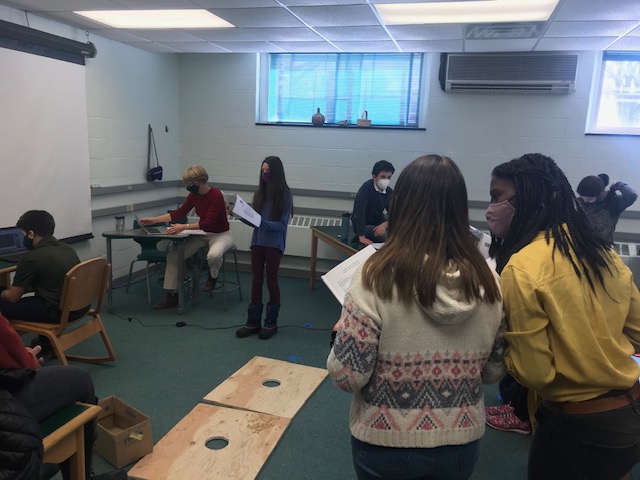
Photo Gallery

Credits

Treasure Island: A Radio Play by Ruth Giordano, published by Drama Notebook and based on the book Treasure Island by Robert Louis Stevenson

Grace Drown Director & HAMS Players drama coach

Andrew Crofton Technology support

Drama Notebook https://www.dramanotebook.com/plays-for-kids/ 

This royalty-free play is part of a fantastic collection of plays for kids and teens on Drama Notebook.

Music

Samples from “Pirates of the Caribbean (Main Theme)” by the Intermezzo Orchestra and “The Black Pearl,” by Klaus Badelt, both from the movie series The Pirates of the Caribbean, courtesy of Spotify and YouTube; licensed to YouTube by UMG (on behalf of Walt Disney Records); AMRA, LatinAutor – UMPG, UNIAO BRASILEIRA DE EDITORAS DE MUSICA – UBEM, Walt Disney Music Company (Publishing), LatinAutorPerf, CMRRA, ASCAP, UMPI, and 15 Music Rights Societies 

Yo Ho Ho (And a Bottle of Rum) by Craig Toungate, courtesy of YouTube; licensed to YouTube by UMG (on behalf of Walt Disney Records); Sony ATV Publishing, BMI – Broadcast Music Inc., UNIAO BRASILEIRA DE EDITORAS DE MUSICA – UBEM, LatinAutorPerf, LatinAutor – UMPG, and 5 Music Rights Societies.

Posted in Tech in the Classroom | Comments Off on Treasure Island: A Radio Play

Conceptual Physics – 3D Car Race Day

For the final part of the Conceptual Physics project based around car design, students had to prep their 3D printed cars for the test ramp and were then given three trials to record their fastest speed down the ramp (recorded with three timers) and longest distance travelled off the ramp. Any car that did not make it down the ramp was disqualified for that turn.

Here are a few shots from the race prep and race day classes and a close-up of some of the finished designs the students created using the 3D printer and Tinkercad:

And finally, a YouTube playlist of some of the different cars heading down the testing ramp is embedded below:

Posted in Tech in the Classroom | Comments Off on Conceptual Physics – 3D Car Race Day

Conceptual Physics – 3D Race Car Design

A project that Freshmen complete every year in their Conceptual Physics course is designing and creating cars that are raced down a ramp and measured for speed and distance travelled. Students design their cars completely using Tinkercad to create parts to be printed on the 3D printer.

The project started with an introduction to professional car design based around this video from BMW. We talked through the three main steps of: drawing and sketching design ideas; using clay to create a 3D model; and then manufacture. We also spent some time discussing wheel design and how wheels could be attached to the main body of their cars.

We then worked through these same steps for their own designs using the sketching tools in the Google Drawing app (as well as pen and paper) to create 2D designs, modeling clay and LEGO blocks and maker space materials to create their 3D prototypes and finally Tinkercad to design their car parts for the 3D printer for manufacturing.

A selection of photos of the students working on their devices, as well as some of their clay and 3D prototypes, can be seen below:

Posted in Tech in the Classroom | Comments Off on Conceptual Physics – 3D Race Car Design

Adding Android & Chromebooks to the HebronAcademy Wifi Network

  • On Android and Chromebook devices you should go to the wireless settings section and choose to connect to the wifi network called HebronAcademy
  • On the next screen that pops up you should enter the following settings, including your own username and password. If there is an additional domain option you should enter hebronacademy.org
Posted in Office Updates | Comments Off on Adding Android & Chromebooks to the HebronAcademy Wifi Network

Improving Your Zoom Connection

Below are a number of steps you can take if you are having connection issues when using Zoom:

1. Use the best internet connection you can. In general wired connections are better than wireless connections and wifi connections are better than cellular connections. Also try to move as close to your wifi router as possible for the strongest signal.

2. If you are sharing an internet connection with other household members make sure they are not using up your internet bandwidth by streaming HD video or downloading large files from the internet during the meeting time – this includes using media devices like Roku or Amazon Fire.

3. Mute your microphone when you’re not speaking. When your microphone is on Zoom will devote part of your connection to an audio stream for you, even if you are not speaking.

4. Stop your webcam video when you don’t need it. Obviously Zoom is primarily a video tool but if there are too many connection issues really try to limit the amount of video data being transferred between attendees so at least the audio will be clear

5. Disable HD webcam video. In the Zoom app’s preferences you can disable HD video to reduce the amount of data being transferred over your connection:

6. Close unneeded applications on your computer – including Chrome tabs! Zoom meetings can demand significant memory and processing power from your computer. Closing other applications will help Zoom run better.

7. Avoid other activities that will take-up bandwidth. Don’t start other bandwidth-intensive activities just before, or during a Zoom meeting. This includes: 

– large downloads
– large uploads
– streaming video
– cloud backups (including Time Machine)
– cloud file synchronizations (including apps like Photos on the Mac)

As more and more people work/study from home on their consumer internet connections we will unfortunately start to see more and more connection issues and slower internet speeds overall.

Posted in Office Updates | Comments Off on Improving Your Zoom Connection

Using Zoom as a Video Conferencing Tool

Zoom is a videoconferencing app we are going to be using for live in-person meetings and class sessions, as well as recording mini-lecture videos for uploading to myHebron. Below are the steps for joining a meeting, setting up a meeting and sending out the link for participants (as well as sharing your screen and starting and accessing the recording of the meeting once it is over).

These are just the basic steps however and Zoom has extensive help and training resources which can be found here.

Getting Started

  1. If you do not currently have a Zoom account go to https://zoom.us/signin, click the Sign in with Google button, login with your school email credentials and then create the account
  2. To join a meeting simply click on the Zoom link provided. If this is the first time you have used the service an app installer will download and you will need to run this. Follow the installer steps to install the Zoom app. Note that if you are on a Chromebook you will be prompted to install an extension from the Chrome Web Store. Once installed go back and click the link again.
  3. Click Open zoom.us to run the app the join the meeting
  4. Enter your name if prompted and also allow Zoom to access to your microphone and webcam
  5. Click Join With Computer Audio and you are then in the meeting
  6. Here is what your screen will look like with all the different controls at the bottom. If the controls autohide just move your mouse to make them reappear.

7. There are a couple of different tools you can access once the meeting has begun including a live chat, and a list of all the participants. Click on the corresponding buttons on the bottom toolbar and different side panels will open up
8. The participants list especially has some useful tools when you are part of a meeting with multiple people, including mute tools and the ability to “raise your hand” if you have a question or comment. For this option simply click the Raid Hand button found at the bottom of the window. A blue hand symbol will appear on your name and your video image. Click Lower Hand to remove the symbol once you have asked your question.

Hosting a Meeting

  1. Once you have an account and have downloaded and installed the Zoom app, to host a meeting simply go to the Zoom sign in page and sign in with Google
  2. Then click Host a Meeting: With Video On found in the top right hand corner of the browser window
  3. Click Open zoom.us to run the app and start the meeting
  4. Next click the Invite+ button in the bottom toolbar
  5. From this invite window you can either:
    • click the Copy URL text to have the basic meeting link copied to the clipboard. You can then paste this into a myHebron message
    • click the big Gmail button to generate a new email message with all the details of the meeting
  6. Once the participants have joined the meeting hit the Record button in the bottom toolbar. The recording video will be saved when you finish the meeting and can be uploaded to Google Drive or myHebron just like any other file
  7. When you have completed the meeting click the End Meeting text in the bottom right hand corner of the screen and then click End Meeting for All.
  8. A file conversion window will then pop-up. Once the file conversion is complete click the drop down under Save my recordings at, click Choose a new location and then save the video and audio files to somewhere like your desktop for easy access. Finally click Save and in the created folder the .mp4 file is the video recording.

You can also schedule meetings ahead of time and full instructions for this can be found here.

Using Zoom to Record Mini-Lectures

We are also going to be using Zoom to record mini-lecture videos for posting on myHebron. This is just a meeting with yourself and no participants that is recorded to video. Simply follow the steps above to start a meeting, record the meeting, end a meeting and save the recording without inviting anybody.

One tool that you may find useful is the ability to share you screen, so that you can go through class resources like a slideshow or show a website:

  1. One you have started the meeting and started to record it click on the green Share Screen button in the bottom toolbar, select Desktop 1 and then click Share
  2. The app will now record both your webcam and everything you do on the screen
  3. Once you are finished with your lecture click the red Stop Share button at the top of the screen, and then end the meeting and save the recording video as normal
Posted in Professional Development | Comments Off on Using Zoom as a Video Conferencing Tool

Saving Any Document as a PDF

There are a number of ways on the Mac of saving any kind of document type to a PDF file for easy online distribution, including uploading to myHebron.

Google Docs, Sheets and Slides

Open up any of the these types of documents in Chrome and simply click File: Download: PDF Document

The PDF will be saved in your Downloads folder in the Finder

Microsoft Office

Any type of Microsoft Office file can be saved as a PDF. Simply go to File: Save As

Then choose PDF from the File Format drop down

Other Document Types

For other files types that you might want to turn into a PDF, on the Mac you can “print” to a PDF. Simply open the file, click File: Print and in the print dialog you can choose save as PDF from the PDF drop down in the bottom left of the window

Posted in Professional Development | Comments Off on Saving Any Document as a PDF

French III – 3D Gothic Cathedrals

Many years ago, my husband and I read Ken Follett’s The Pillars of the Earth before we traveled to England. That book gave us an excellent background on gothic architecture and it helped us gain a better understanding and appreciation of these man-made marvels. When I traveled to France for the first time in 1988, my visit to Chartres Cathedral was the high point of the trip.

When I began teaching French in the 1990’s, I decided to teach my students about gothic architecture so that when they one day visit France, they, too, will look knowledgeably at these miraculous skyscrapers of long ago. They will recognize the cruciform floor plan where the north-south nave is crossed by the east-west transept. They will appreciate the flying buttresses giving support to the vaulted ceiling. They will admire the pointed gothic arches surmounting the tracery of the stained glass windows, including the magnificent rose windows.

And it worked! I received this e-mail last summer from a previous student of mine:

“I am in Malta on vacation and doing sightseeing. I’ve visited three different neo-gothic cathedrals and the knowledge from our project helped alot and it was great.”

While the French students were reading an excerpt of Les Misérables,“The Bishop’s Candlesticks”, in class, they each researched a gothic cathedral. They were required to draw and define a number of architectural terms, research the history of their own cathedral, and do an oral presentation, partially en français, to their classmates.

With the help of Mr. Crofton, the students used Tinkercad and the 3D printer to make models of their cathedrals. To do this, each student had to look carefully at the cathedral – Where do the flying buttresses intersect with the roof? – Are both of the towers exactly the same? – How does the interior floor plan compare to the exterior design? By the end of the design phase, the students really knew their cathedrals. I so hope that someday these students will visit these cathedrals!

Mrs. Reedy, French Teacher

Posted in Tech in the Classroom | Comments Off on French III – 3D Gothic Cathedrals

Conceptual Physics – 3D Car Race Day

For the final part of the Conceptual Physics project based around car design, students had to prep their 3D printed cars for the test ramp and were then given three trials to record their fastest speed down the ramp (recorded with three timers) and longest distance travelled off the ramp. Any car that did not make it down the ramp was disqualified for that turn.

Here are a few shots from the race prep and race day classes and a close-up of some of the finished designs the students created using the 3D printer and Tinkercad:

And finally, a YouTube playlist of some of the different cars heading down the testing ramp is embedded below:

Posted in Tech in the Classroom | Comments Off on Conceptual Physics – 3D Car Race Day

Conceptual Physics – 3D Race Car Design

A project that Freshmen complete every year in their Conceptual Physics course is designing and creating cars that are raced down a ramp and measured for speed and distance travelled. Students design their cars completely using Tinkercad to create parts to be printed on the 3D printer.

The project started with an introduction to professional car design based around this video from BMW. We talked through the three main steps of: drawing and sketching design ideas; using clay to create a 3D model; and then manufacture. We also spent some time discussing wheel design and how wheels could be attached to the main body of their cars.

We then worked through these same steps for their own designs using the sketching tools in the Google Drawing app (as well as pen and paper) to create 2D designs, modeling clay and LEGO blocks to create their 3D prototypes and finally Tinkercad to design their car parts for the 3D printer for manufacturing.

A selection of photos of the students working on their devices, some of their car sketches, clay prototypes and a selection of the finished printed models can be seen below:

Posted in Tech in the Classroom | Comments Off on Conceptual Physics – 3D Race Car Design