
Clips is a new app for making fun videos to share with friends, family, and the world. With a few taps you can create and send a video message or tell a quick story with animated text, graphics and emoji, music, and more.
Sitting in-between the basic editing tools in the Camera app and the more advanced timeline-based features of iMovie, the new Clips app from Apple is quick and easy way for students and faculty to create and share movies made up of photos, videos, text, audio and music.
Note that you may need to update your iPad to the latest version of iOS to get the Clips app to install.
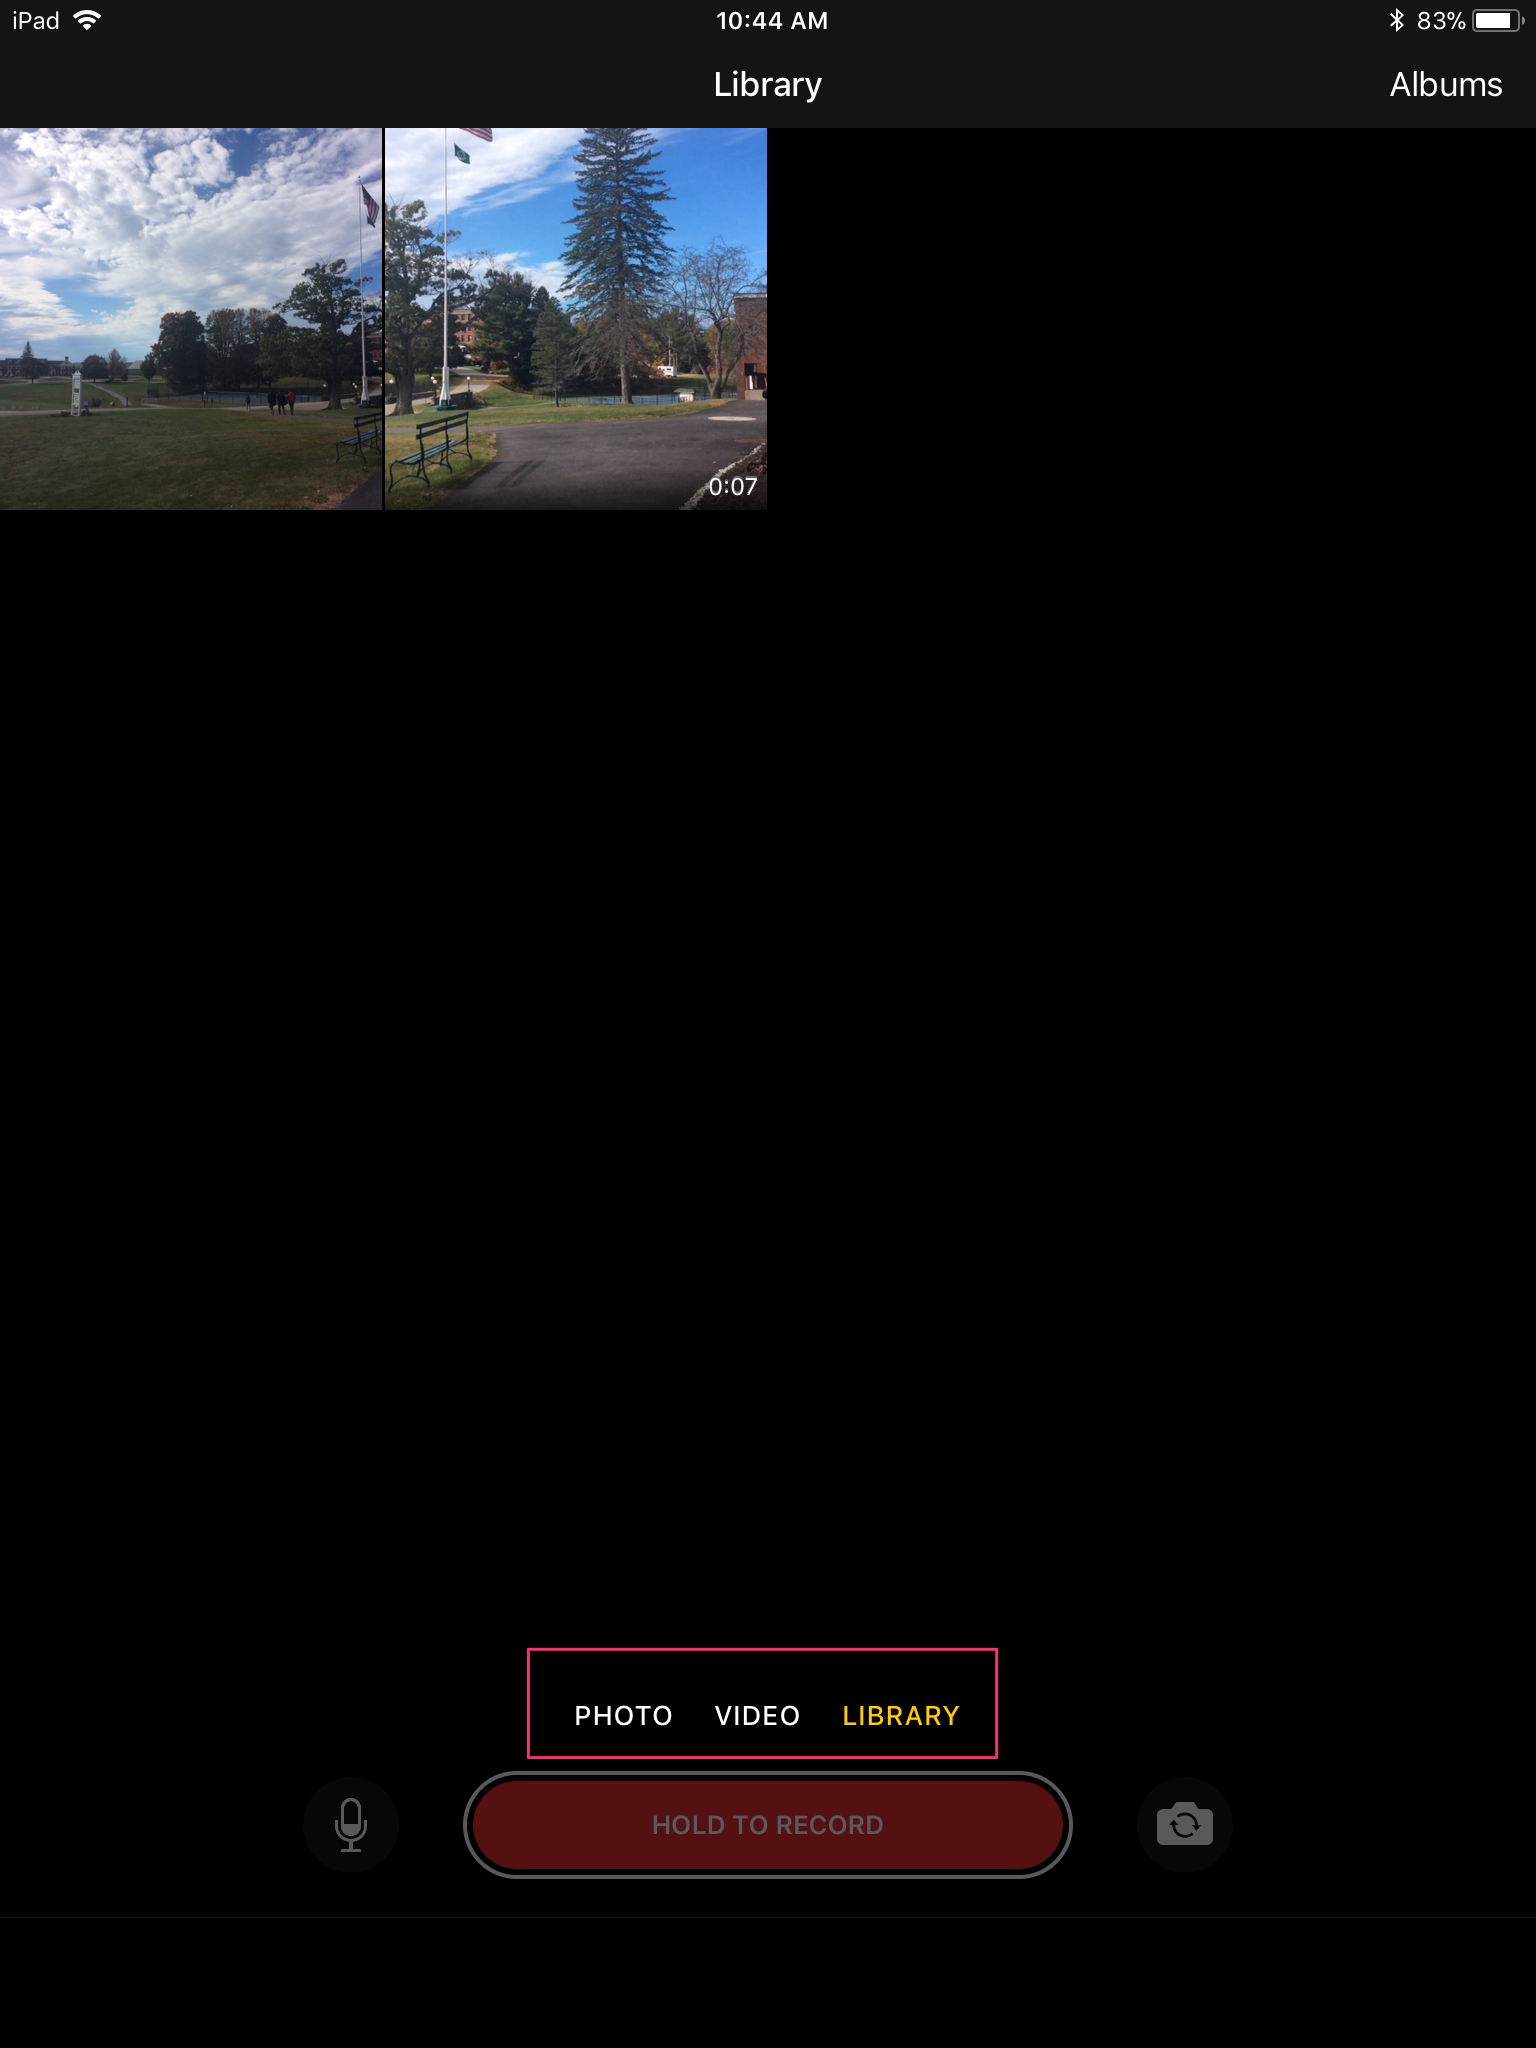
After you open the app you will have the option of either recording a new video, taking a new photo or using existing photos and video from your library:
If you are going to be recording a new video or taking a new picture inside the app you have some options available to you before you start recording. Or if you are using an existing video or photo you will get these same options once you have selected it.
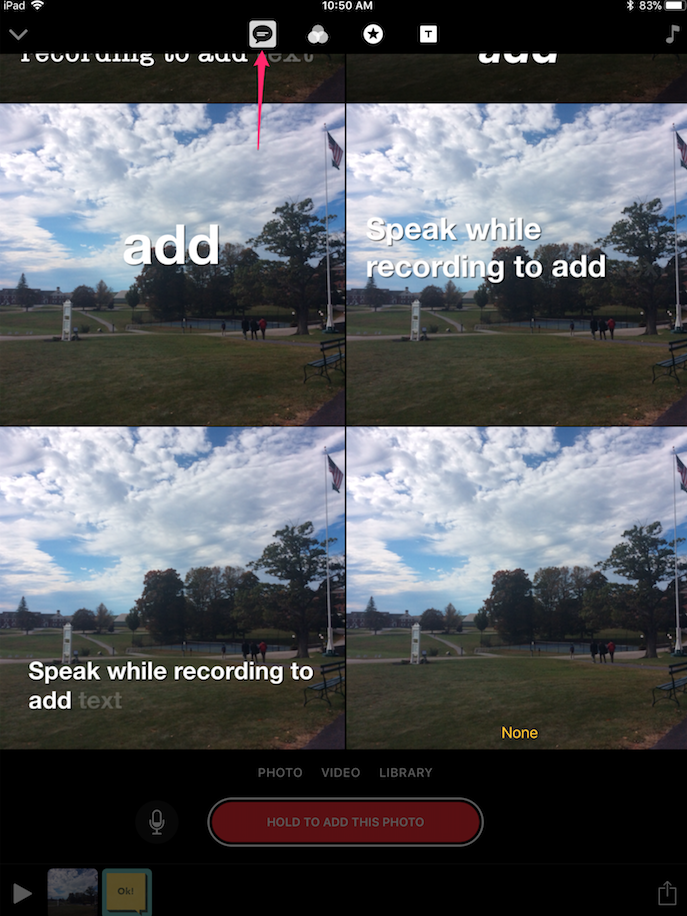
- Live titles. Select the text style you would like and then tap and hold the red button – as you speak text subtitles will be automatically added to your clip:
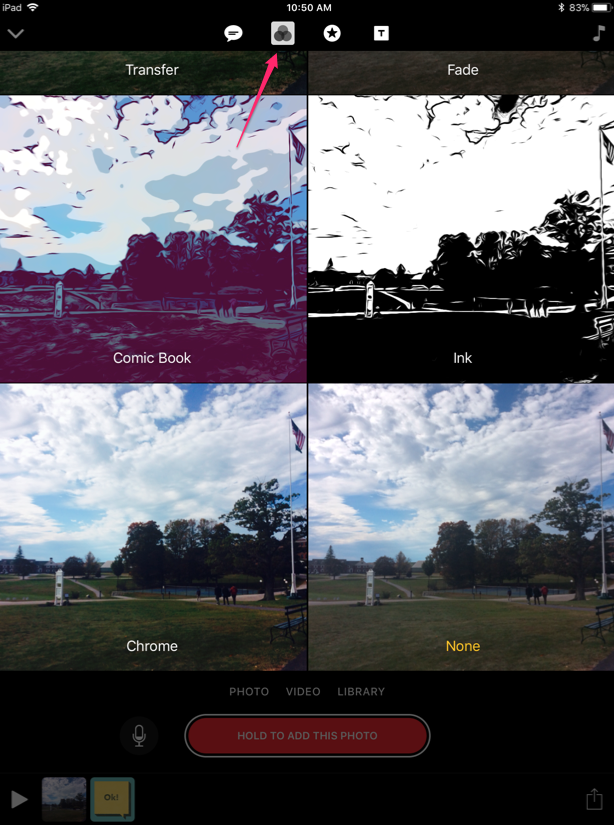
2. Filters, which add a color or graphical effect similar to what Instagram or Comic Life offer – and again tap and hold the red button for as long as you want to the clip to appear in your movie:
3. Stickers, which are transparent text objects that can be overlaid onto your clip (once selected the sticker text can be edited with a double-tap and then dragged to the desired position).
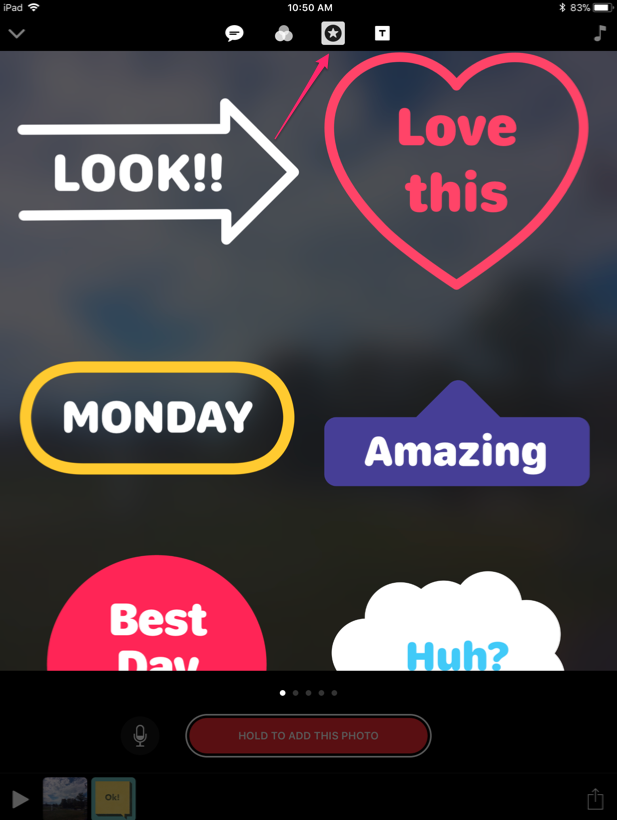
After you have added the sticker, tap and hold the red button to record your clip.
 Once you have added a clip (either using the effects above or not) you will now see a timeline appear at the bottom of your screen. As you add more clips you can tap, hold and drag the clip bubbles to rearrange their order. You can also tap the play button to preview what you have created or tap individual clips to select them and either add further effects as above, delete them with the trash can icon or trim them with the scissors icon (you can swipe up to hide these options and get back access to the red record button).
Another object which you can add to your timeline are title slides. These are full screen templates that can be used as a more traditional title slide or for text instructions (again the text can be edited with a double-tap once a design has been selected):
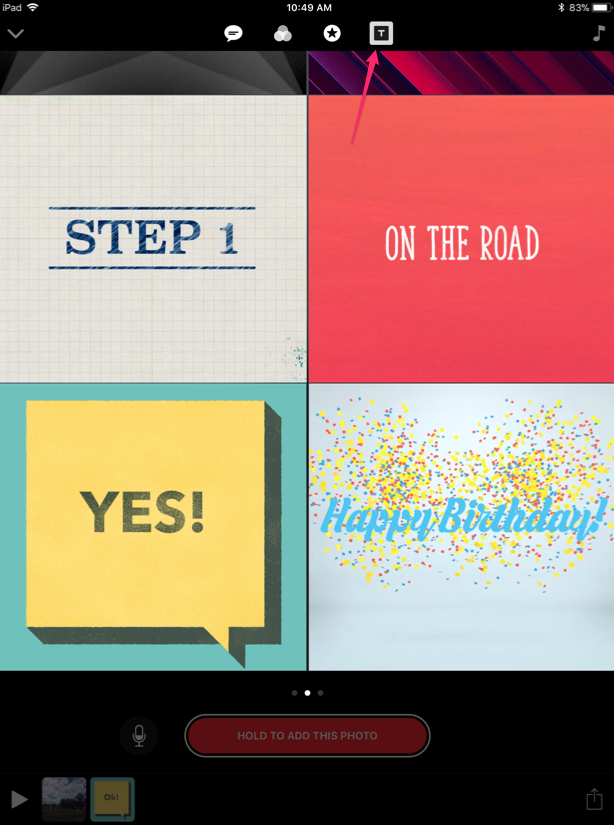
After you have chosen your title style and edited the text, tap and hold the red button to record your clip.
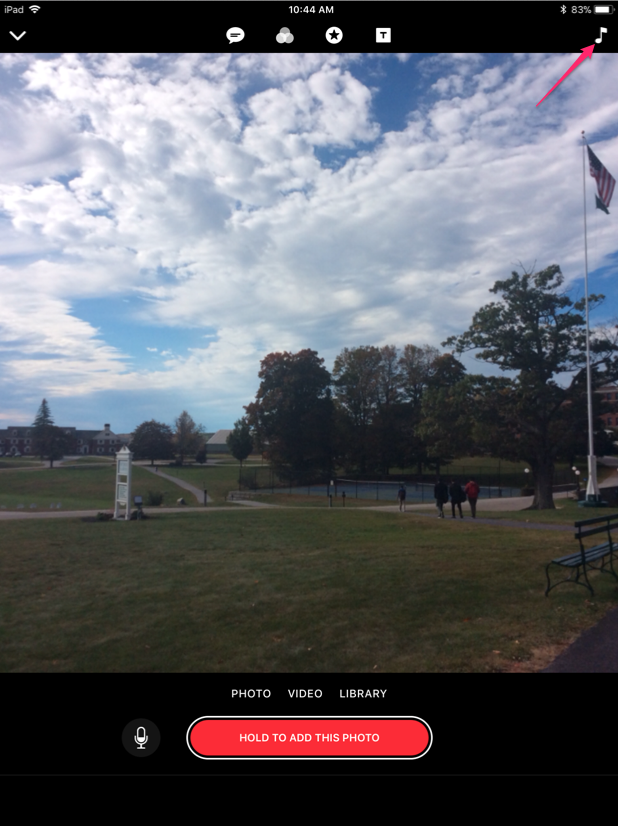
When you have finished recording all your clips and they are in the correct order in the timeline you can add background music. Apple has provided a library of music within the app for this – just tap on the music note icon in the top right hand corner of the screen:
Tap Soundtracks and then tap on a title to listen to the track. It will download and once finished a blue tick will appear to the left of the title. If you would like to use this track in your project tap the blue back arrow in the top left hand corner of the screen.
You can now preview your entire project with this background music using the play button:
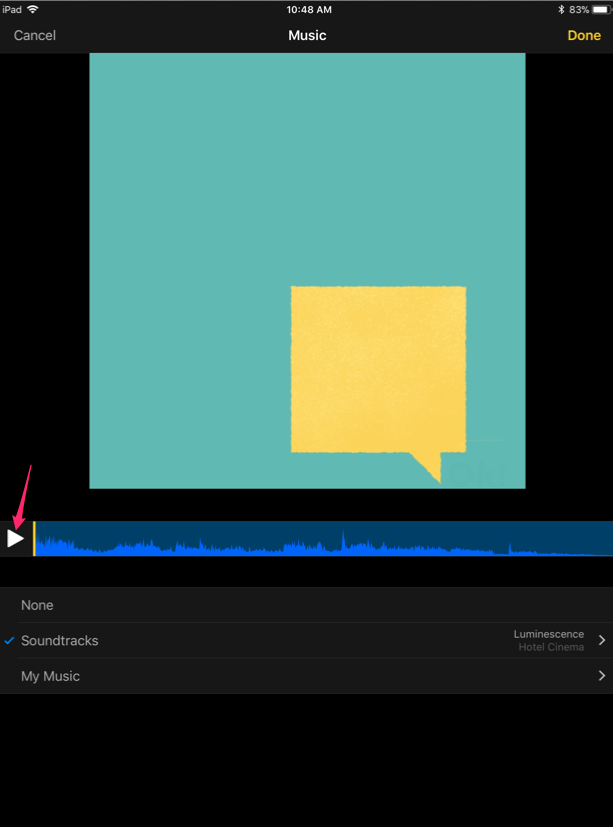
If you are happy with your selection tap Done to return you to the timeline view (or tap Soundtracks again to chose another). The app will automatically change the volume levels of the music so it won’t overpower any voiceover audio you have already recorded.
Finally to export your project, tap on the share icon in the bottom right hard corner of the screen:

This will let you either save the video to your local photo library using the Save Video option or upload it to Google Drive for sharing.
Finally, if you want to start a new project or edit an existing one just look for the down arrow in the top left hand corner:
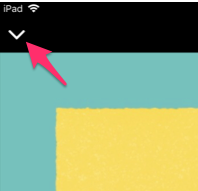
Tapping on this will drop down a new pane with all your existing projects and a + icon to start a new project.