According to Wikipedia: “Flipped classroom is an instructional strategy and a type of blended learning that reverses the traditional educational arrangement by delivering instructional content, often online, outside of the classroom and moves activities, including those that may have traditionally been considered homework, into the classroom. In a flipped classroom model, students watch online lectures, collaborate in online discussions, or carry out research at home and engage in concepts in the classroom with the guidance of the instructor”.
We have helped a number of teachers setup workflows for recording flipped classroom videos and our recommendations to make this process as simple as possible are detailed below.
Recording Yourself
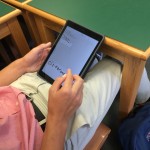
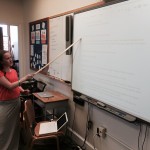
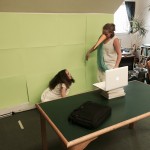
 The quickest and easiest way to create a flipped classroom video for your students to watch outside the classroom is to record yourself in-front of your whiteboard. Simply setup your MacBook or iPad to record, deliver your class or lecture, trim the start and end of your video and then upload and share this video through Google Drive. You can find further help on audio and video recording here, and iPad specific instructions here.
Blendspace
One tool we recommend to package together videos (either recorded by you or existing content from video sites like YouTube), documents, links and other resources into an online lesson is Blendspace. Each of the resources you choose for your online lesson can be embedded into a grid and the students then go through each resource in order. So you could add some content overview text first, then perhaps some technical drawings, then a video and finally some review questions.
Here is an example of what a student might see after you have created a lesson, with each box in the grid linking to a different resource:

And here is a good overview of the service:
https://www.youtube.com/watch?v=aQ_Mg3lSoew
Using Explain Everything
Explain Everything is a multi-purpose app available to all faculty on their iPads and one feature is that the app can record your actions when creating any kind of project and then export those actions as a video (again to be shared through Google Drive). So you can create presentation slides, annotate PDFs and record your voice all within the same project and then turn that into a video. Further information on Explain Everything can be found here, with section 4 focusing more on creating flipped classroom recordings.
EDpuzzle
Another online tool we recommend is EDpuzzle, which lets you add interactivity to videos you have made or existing video content from sites like YouTube. You can import or upload a video and then use EDpuzzle’s editing features to crop, add text and audio notes as well as questions and quizzes at specific times within the video.
You can see an example of what can be created here and below is a good tutorial taking you through the different parts of EDpuzzle:
https://www.youtube.com/watch?v=8377YLHrdwU